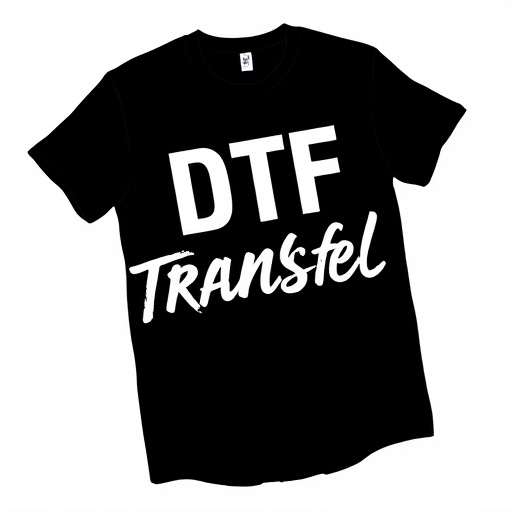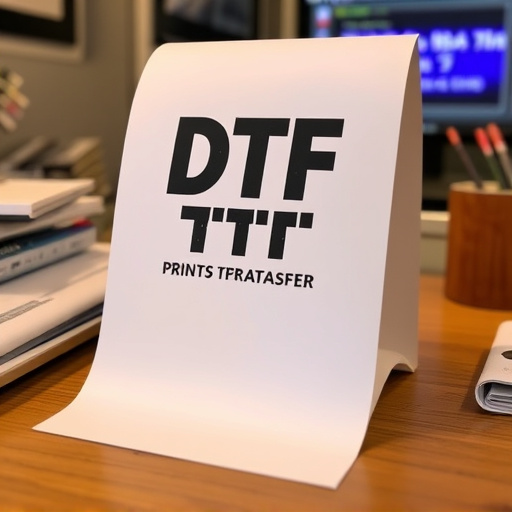


Direct-to-film (DTF) transfer is a versatile printing method for textiles, paper, and metal, offering vibrant, durable prints. Before starting, gather essential materials like high-resolution artwork, printer, safety gear, and DTF film. Prepare designs with 300dpi resolution, vector graphics, and meticulous arrangement for optimal scalability and visual appeal. The transfer process involves applying adhesive to the back of the DTF print and securing it to the substrate with a hot iron. Proper curing and finishing enhance print longevity. Challenges like blurry lines and ink smudging can be mitigated by aligning designs, calibrating settings, using compatible inks, and maintaining clean equipment.
Discover the art of creating stunning direct-to-film (DTF) prints with our comprehensive guide. This step-by-step tutorial takes you from understanding the basic concept of DTF transfer to mastering the post-print finishing processes. Learn how to gather the essential materials, prepare your design, and apply the DTF transfer accurately. We’ll also address common issues and provide troubleshooting tips for seamless printing. Elevate your DIY projects with the magic of DTF prints today!
- Understanding Direct-to-Film (DTF) Transfer: A Basic Concept
- Gathering Essential Materials for DTF Printing
- Preparing Your Design for DTF Transfer
- Step-by-Step Guide to Applying the DTF Transfer
- Post-Print Curing and Finishing Processes
- Troubleshooting Common DTF Printing Issues
Understanding Direct-to-Film (DTF) Transfer: A Basic Concept

Direct-to-film (DTF) transfer is a printing process that allows for high-quality imaging directly onto various materials, including textiles, paper, and even metal. This method involves transferring ink or dye from a carrier sheet to the target surface using heat and pressure. DTF Printing offers several advantages, such as vibrant colors, durability, and the ability to produce intricate designs with fine details.
The DTF Transfer process starts by preparing the design digitally, ensuring it meets the required resolution and color specifications. Then, a thin layer of ink or dye is applied to a transparent film, which acts as a carrier. This film is then aligned precisely over the target material, and heat and pressure are applied to transfer the image. The result is a sharp, long-lasting print that becomes an integral part of the substrate, making DTF Prints suitable for various applications, from clothing design to signage and decorative items.
Gathering Essential Materials for DTF Printing
Before you begin your journey into direct-to-film (DTF) printing, ensuring you have all the necessary materials is paramount. Gathering the right supplies will make the process smoother and more efficient, delivering optimal results for your DTF transfers. At the core of this method lies precision and quality. Therefore, your initial step should be to procure high-resolution digital artwork or designs that are compatible with DTF printing software. These could range from intricate illustrations to bold texturized graphics, all tailored to your desired outcome.
Additionally, you’ll require a suitable printer, ideally a professional-grade inkjet or laser printer capable of handling special media like DTF films and inks. A stable workbench or station for setup is essential, along with safety gear such as gloves to protect against chemicals and ink. Other critical materials include DTF transfer film, which acts as a medium to convey your design onto various surfaces; compatible printing inks; a clean-up kit for maintaining equipment; and protective clothing or aprons to prevent accidental staining.
Preparing Your Design for DTF Transfer

Before you begin the DTF transfer process, preparing your design is a crucial step. Start by ensuring your artwork is in a high-resolution format suitable for printing, typically 300 dpi or higher. This guarantees a crisp and detailed final product. Use vector graphics whenever possible, as they scale seamlessly without sacrificing quality.
Next, arrange your design elements carefully. Consider the placement of images, text, and other objects to optimize the print area. Remove any unnecessary background or elements that might disrupt the transfer process. A well-prepared design not only enhances the visual appeal of your DTF prints but also facilitates a smoother production workflow.
Step-by-Step Guide to Applying the DTF Transfer

Applying a DTF (Direct-to-Film) transfer is a straightforward process that involves several precise steps to ensure optimal results. Start by ensuring your workspace is clean and well-lit, with all necessary materials readily available. Prepare your print by positioning it face-down on a flat surface, aligning it accurately with the desired location on your project. Next, apply a thin layer of transfer adhesive to the back of the DTF print using a clean, flat tool like a spatula or a squeegee, making sure to cover the entire area evenly.
Gently lift one edge of the DTF print and start transferring it onto your desired substrate, such as fabric or wood, ensuring there are no bubbles or creases. Use a hot iron set at the appropriate temperature (typically between 180-200°C) to press the transfer firmly in place for about 30-60 seconds. Allow the print to cool down completely before handling it to prevent smudging or damage. This meticulous approach will result in vibrant, long-lasting DTF prints that can transform your projects into true works of art.
Post-Print Curing and Finishing Processes
After the DTF transfer process is complete, the prints require proper curing and finishing to ensure optimal durability and quality. Curing involves allowing the ink to set completely, which enhances the print’s longevity and prevents smudging or fading. This step is crucial for achieving vibrant and long-lasting DTF prints. Depending on the ink type and material used, curing can be done at room temperature or with the application of heat. Many printers offer built-in curing mechanisms to streamline this process.
Finishing involves preparing the printed materials for their intended use. This might include trimming excess material, adding protective coatings, or laminating the prints. For instance, applying a clear coat over DTF transfers can protect the design from wear and tear, especially if the print is intended for outdoor display or frequent handling. Finishing techniques contribute to the overall presentation and longevity of DTF prints, making them suitable for various applications, from art exhibits to promotional merchandise.
Troubleshooting Common DTF Printing Issues

Direct-to-film (DTF) printing is an exciting way to bring designs to life, but like any process, it isn’t without its occasional hiccups. If you’re encountering issues with your DTF prints, don’t worry; these problems can often be easily fixed. One common challenge is achieving sharp and precise lines in the print. This might be due to a misaligned design or a faulty printing machine. Ensure your artwork is properly centered and calibrated according to your printer’s specifications. Adjusting the print settings, such as resolution and dot density, can also significantly improve the quality of your DTF transfers.
Another frequent issue is ink smudging or bleeding during the drying process. This can be caused by using incompatible inks or improper surface preparation. Always use recommended inks designed for DTF printing and ensure the substrate is clean, dry, and free from any oils or contaminants that might interfere with ink adhesion. Consider adjusting print speed and temperature settings to allow for better drying and curing of the ink. Regularly cleaning your printing equipment and using fresh consumables can prevent many common problems, ensuring you get consistent, high-quality DTF prints every time.